Click on CHOOSE OS -> Freemium and paid-for OS -> Digital Signage OS -> 1Play Digital Signage.
Downloads
Steps
We recommend Raspberry Pi 5 or Raspberry Pi 4 for the best experience. Older models such as Pi 3, Pi 2, and Pi Zero 2 W are supported with limited functionality.
Required components:
- Raspberry Pi (Pi 5 or Pi 4 recommended)
- Plastic or metal case (optional)
- Class 10 Micro-SD card (16GB or larger)
- High-quality HDMI cable
- Official Raspberry Pi power supply (USB-C or Micro-USB depending on model)
Having trouble finding a Raspberry Pi? Use rpilocator.com to find suppliers.
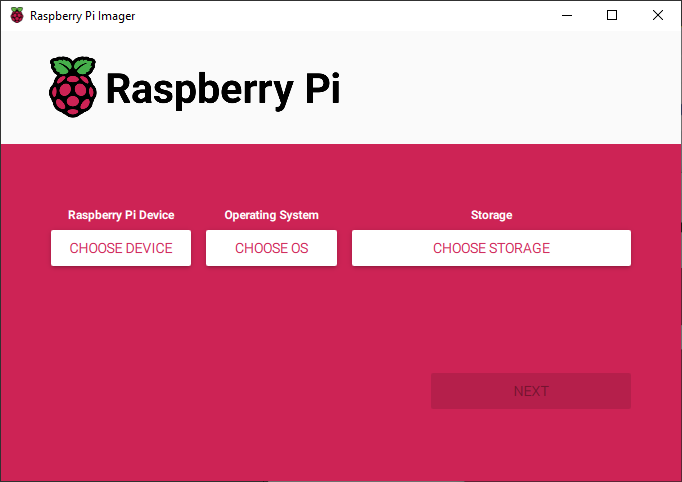
Download and install the official Raspberry Pi Imager. Choose: CHOOSE OS → Freemium and paid-for OS → Digital Signage OS → 1Play Digital Signage.
Alternatively, download the image from the Downloads section and write it using tools like balenaEtcher, Win32DiskImager, or dd.
- Insert the SD card into the Raspberry Pi
- Connect the device to the internet via Ethernet or temporary Wi-Fi hotspot
- Connect the HDMI cable to the TV (use HDMI1 on models with dual ports)
- Power the device using the official power supply
Powering via TV USB may work but is not guaranteed. Testing is recommended.
After booting, wait until the screen displays UNREGISTERED PLAYBOX.
Ensure that the Internet connection status is OK. If not, verify connectivity and reboot.
Log in to the 1Play Dashboard, go to the Playboxes section, and add a new Playbox using the unique ID shown on the screen.
Configure Wi-Fi credentials if needed.
Wait until the Playbox status turns green (Online).
If a playlist is already assigned, media files will download automatically and start playing.